

Sheets
A knowledge sheet is a tabular knowledge base — rows and columns of structured data that AI agents can reference during conversations, edited with a spreadsheet-like interface.
Sheets are most useful when the workflow needs structured reference data that your team can update directly in Octo. They work well for facts, rules, catalogs, lookup tables, and response material that should be easy to review, search, and maintain.
When to use a sheet
Section titled “When to use a sheet”Use a sheet when you need:
- a table of policies, plans, or product facts,
- routing or escalation criteria,
- response snippets or FAQ-style material,
- searchable operational reference data,
- or a structured surface that non-developers can update directly.
If the workflow must fetch live data from another system, use Tools instead.
Before you create a sheet
Section titled “Before you create a sheet”Decide these things first:
- what one row represents,
- which columns the AI agent will actually need,
- how you will name those columns clearly,
- and what descriptions are needed for ambiguous fields.
Sheets work best when they are designed for retrieval, not only for human browsing.
Create and find sheets
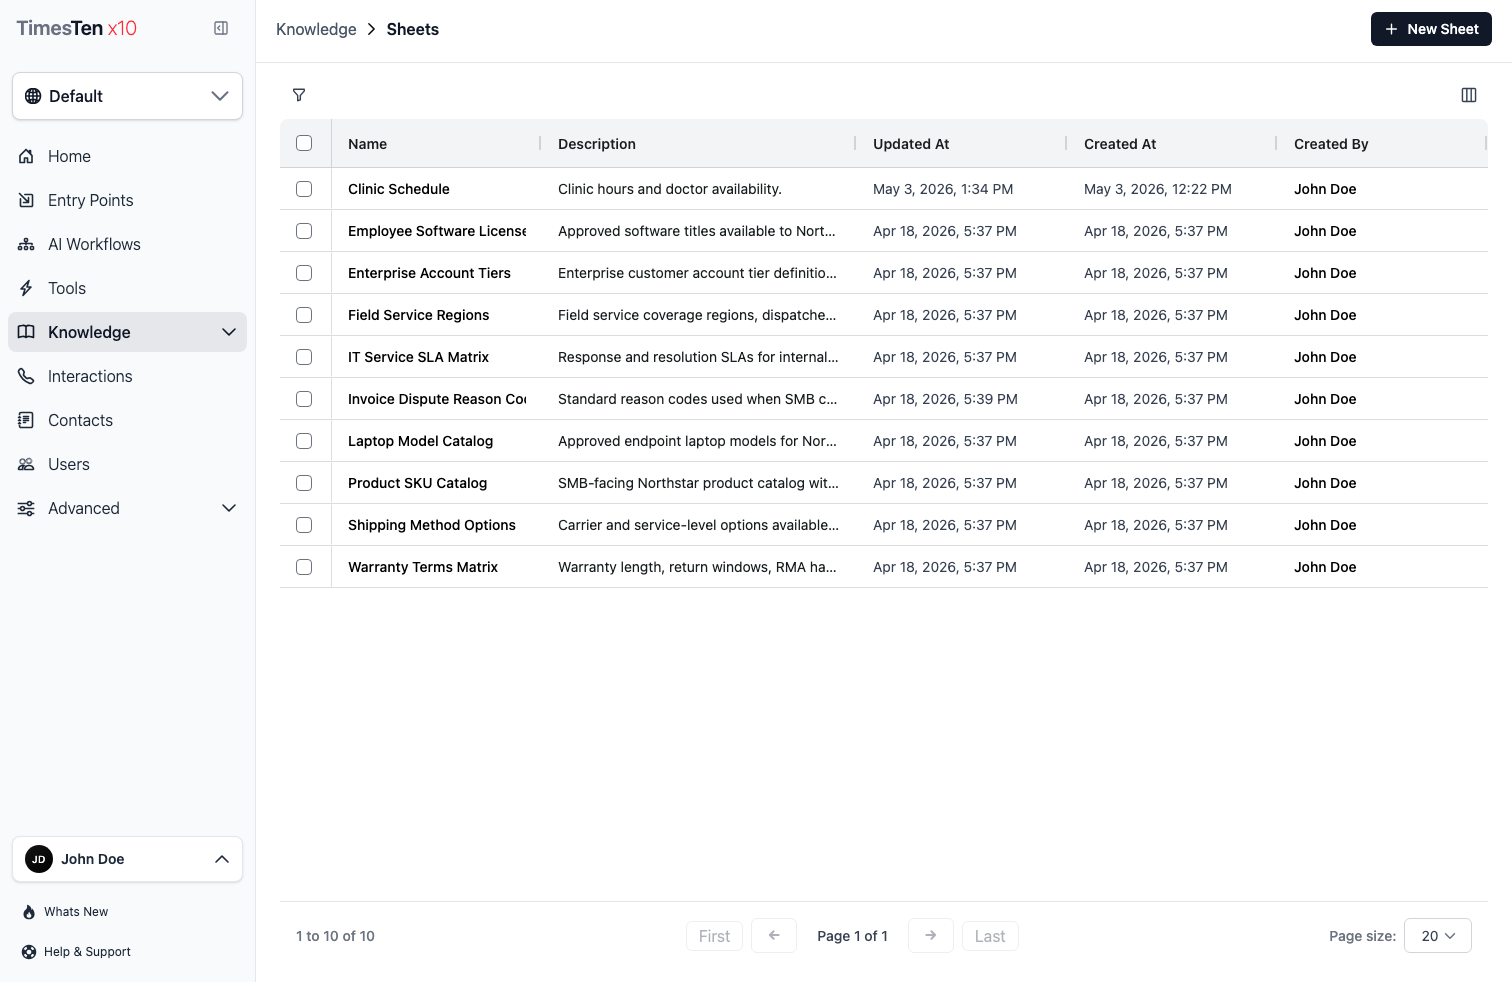
Section titled “Create and find sheets”- Select Knowledge > Sheets in the sidebar.
- Click New Sheet.
- Enter a name and optional description.
- Click Create Sheet. The spreadsheet editor opens.
Use the sheets list page to reopen existing sheets, review what already exists, and manage bulk actions when needed.
Work in the sheet editor
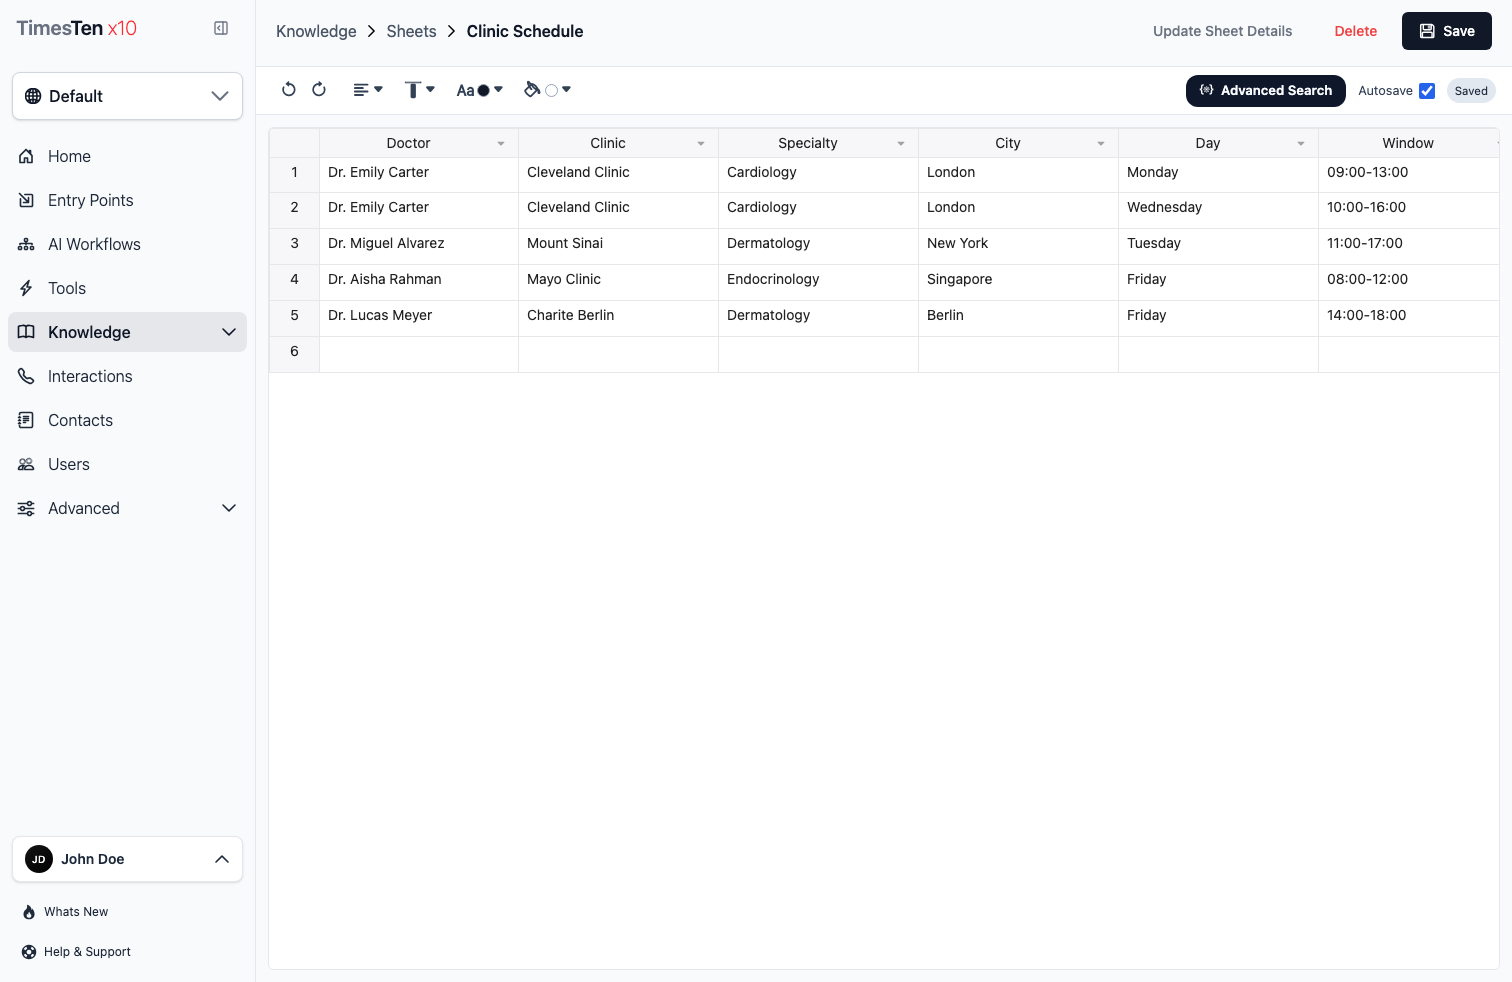
Section titled “Work in the sheet editor”The editor behaves like a spreadsheet, but the goal is not just data entry. You are shaping a table that workflows and AI agents can understand.
- Click a cell to edit it.
- Use Tab to move to the next cell, Enter to move down.
- Right-click a column header for column options (rename, set description, insert, remove, pin).
- Right-click a row for row options (insert, remove, pin).
- Copy and paste works as expected.
Column descriptions
Section titled “Column descriptions”Each column can have a description that explains what data it contains. The AI agent reads these descriptions to understand your data — write them clearly.
To set a column description, right-click the column header and select the description option.
Structure sheet data for AI retrieval
Section titled “Structure sheet data for AI retrieval”Before connecting a sheet to a workflow, make sure the table is shaped for retrieval instead of only human readability.
- Use clear header names.
- Add column descriptions for fields that could be misread.
- Keep one concept per row.
- Avoid mixing unrelated data types in the same column.
- Test whether the sheet can answer the questions the workflow is likely to receive.
These practices matter because the AI agent is using your structure, not only your words.
Format and navigate the sheet
Section titled “Format and navigate the sheet”The toolbar provides the usual spreadsheet controls, including undo/redo, text alignment, vertical alignment, text color, and fill color.
You can also adjust row density between comfortable and compact modes, toggle gridlines, and zoom the view.
Pin rows to keep them visible at the top of the sheet when scrolling down. Pin columns to keep them visible on the left when scrolling right. Use the right-click context menu to pin or unpin.
Search with SQL
Section titled “Search with SQL”The advanced search feature lets you query sheet data using SQL:
- Open a sheet.
- Click the search icon in the toolbar.
- Write a SQL query in the editor. The default query is
SELECT * FROM [SheetName] LIMIT 100. - Run the query to see results in a table below.
The SQL editor provides autocomplete for your sheet’s column names and supports standard SQL features — filtering, sorting, joins, grouping, and aggregate functions (COUNT, SUM, AVG, MIN, MAX).
You can also click Copy as cURL to get an API request for the query.
Save and maintain a sheet
Section titled “Save and maintain a sheet”Auto-save is enabled by default. When enabled, changes save automatically about one second after your last edit. The toolbar shows the save status:
- Saving… means a save is in progress.
- Saved means the latest changes were persisted successfully.
- Unsaved changes appears when auto-save is off and you still have pending edits.
- Save failed means you should retry manually.
To toggle auto-save, use the checkbox in the toolbar. When auto-save is off, click Save manually.
Edit sheet details
Section titled “Edit sheet details”To change a sheet’s name or description after creation:
- Open the sheet.
- Click Update Sheet Details in the toolbar.
- Edit the name or description.
- Click Update Details.
Delete sheets
Section titled “Delete sheets”Single delete:
- Open the sheet you want to remove.
- Click Delete in the toolbar.
- Confirm the deletion.
Bulk delete:
- Select Knowledge > Sheets in the sidebar.
- Select the checkboxes next to the sheets you want to remove.
- Click Delete Selected.
- Confirm the deletion.
How does the AI agent use sheet data? When an AI agent stencil in a workflow has access to a knowledge sheet, it can search and reference the sheet’s data to answer questions or make decisions during a conversation.
Can I import data from a CSV or Excel file? Not directly in the UI. You can copy and paste tabular data from a spreadsheet application into the sheet editor.
Is there a limit to how much data a sheet can hold? There is no hard limit in the UI, but larger sheets may affect search performance. Use the SQL search to query specific subsets of data.
Related pages
Section titled “Related pages”- AI Workflows — workflows reference sheets through AI agent stencils
- Tools — tools can also provide external data to workflows