

Users
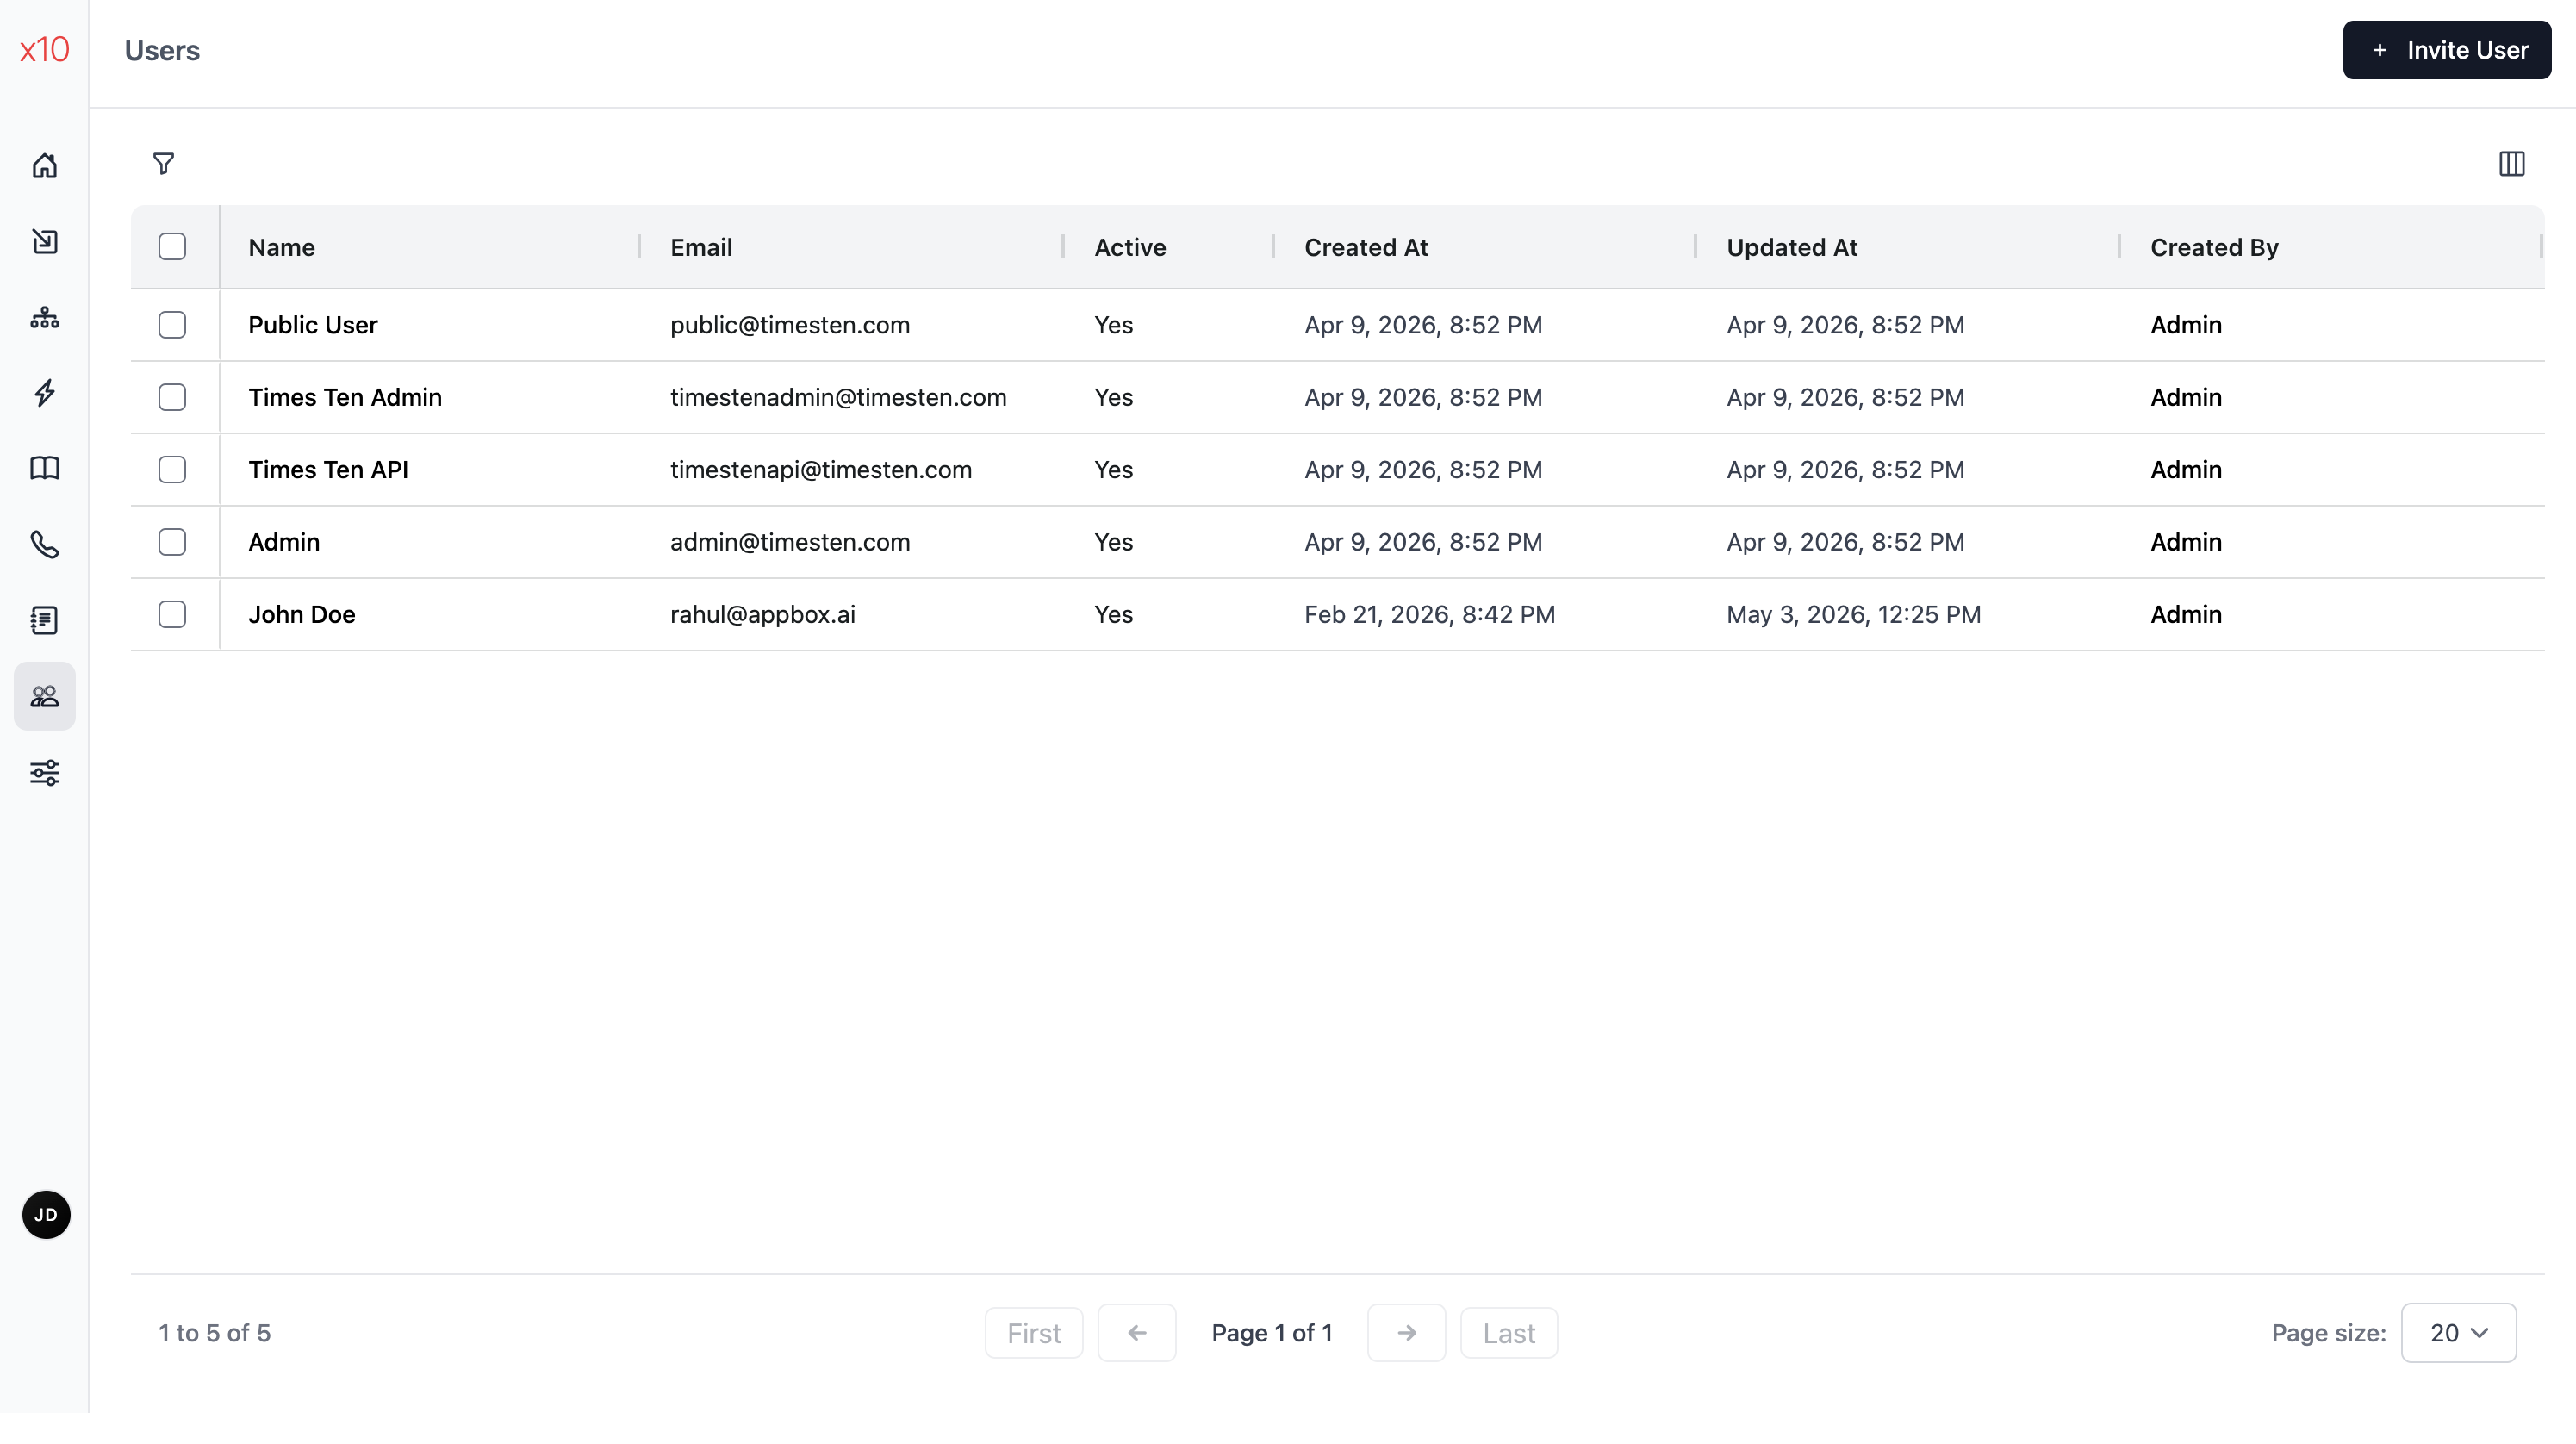
Users are the team members who access your Octo instance — each with a name, email, active status, and assigned roles that control what they can do.
Users are your sign-in identities. This page is where you onboard teammates, control whether they can access the platform, and connect each person to the roles that define what they can do.
How users fit into access control
Section titled “How users fit into access control”- A user is a person who can sign in to Octo.
- A role defines what that person can view, create, update, or manage.
- An invitation is the onboarding step that creates access for a new teammate.
- An inactive user stays in the record history but cannot sign in.
Users are different from Contacts. Users access the platform. Contacts are transfer destinations used by workflows.
Invite a user
Section titled “Invite a user”- Select Users in the sidebar.
- Click Invite User.
- Enter the user’s name and email address.
- Click Send Invite. An invitation email is sent to the user.
The user appears in the list immediately. They can access the platform after accepting the invitation.
Use names and email addresses exactly as you want them to appear in administration and audit surfaces. Email cannot be changed later.
Manage invitations
Section titled “Manage invitations”If a user hasn’t accepted their invitation:
- Click Resend Invite on the user’s detail page to send the email again. This extends the expiration date.
- Click Copy Invitation Link to copy the link and share it directly.
The detail page shows when the invitation expires.
This is the right place to recover from onboarding delays without recreating the user record.
Assign roles
Section titled “Assign roles”- Open a user from the list.
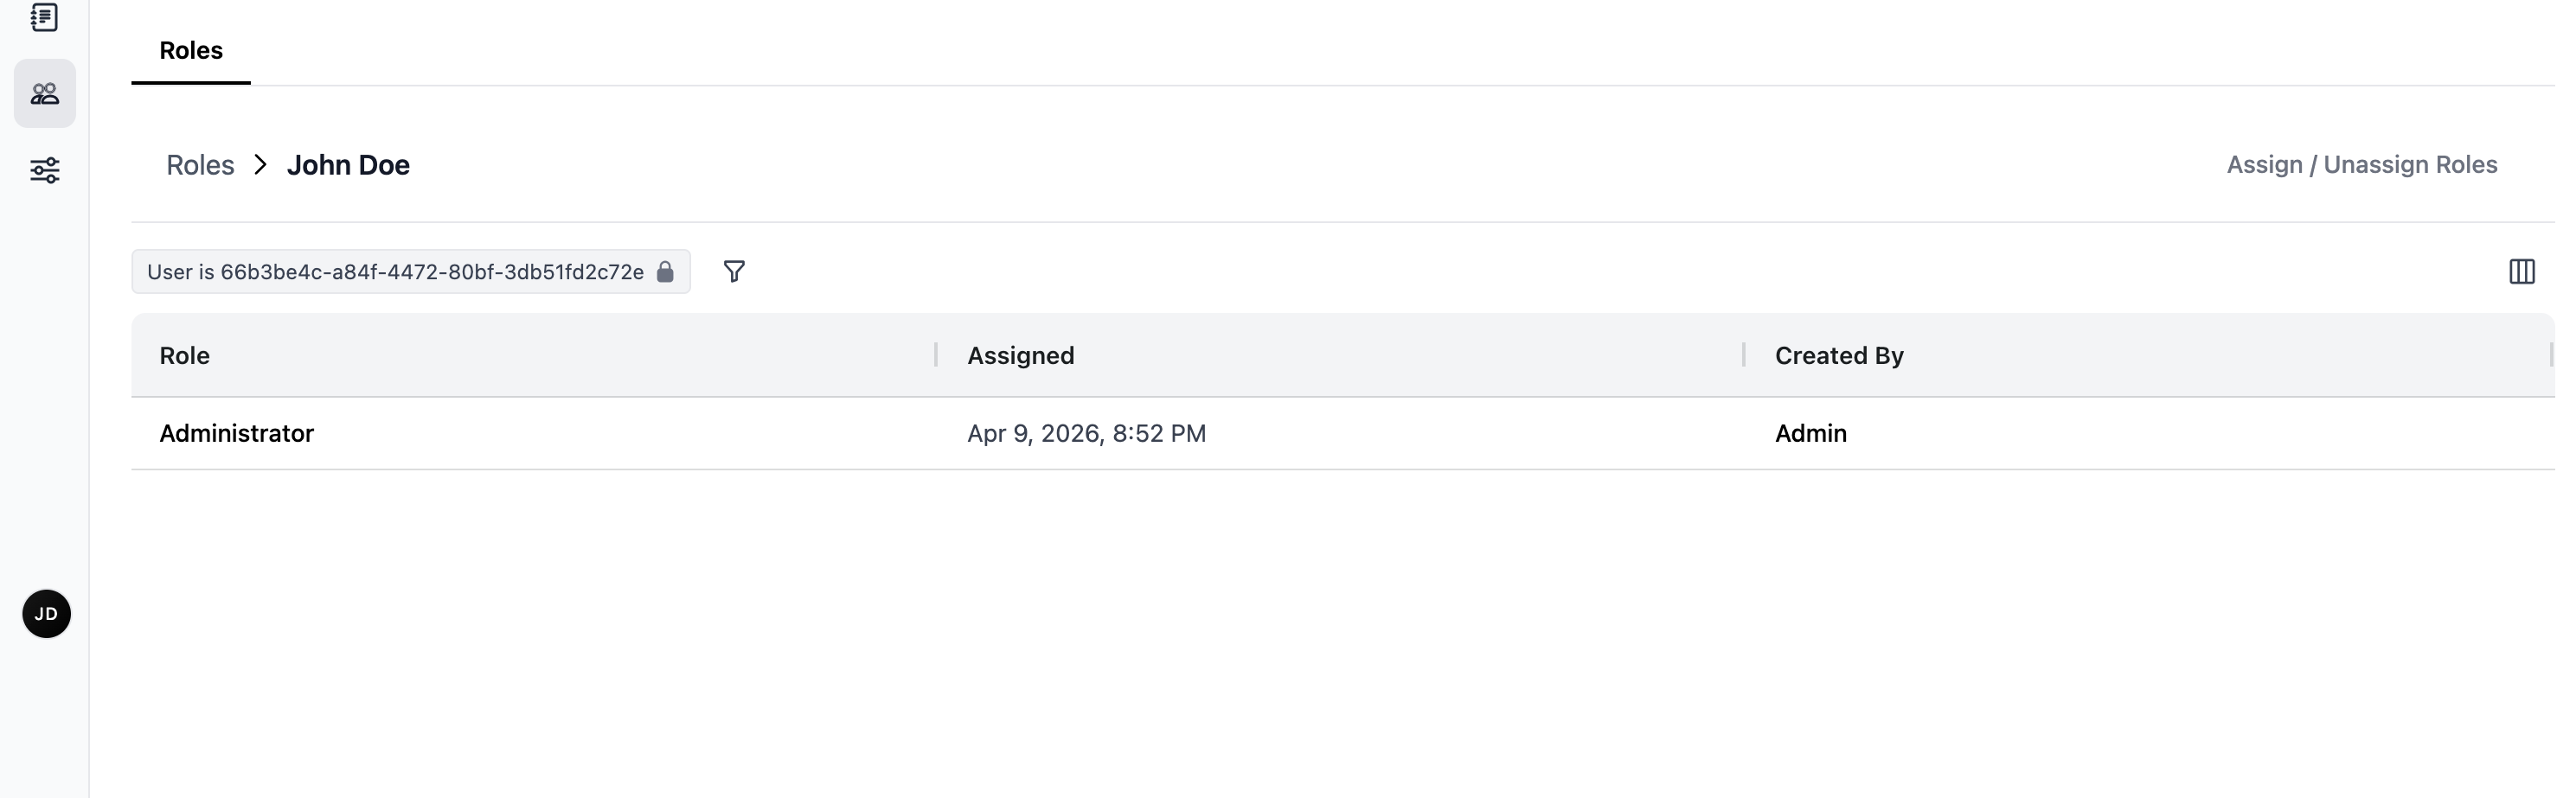
- In the Roles tab, click Assign / Unassign Roles.
- Move roles between the Available and Assigned lists.
- Click Save.
Each assigned role appears in the roles grid with the assignment date and who assigned it. Click a role name to view its permissions.
Assign the smallest role set that still lets the person do their job. If you are unsure what a role grants, review it first in Roles.
Review access before saving
Section titled “Review access before saving”- Invite the person from Users.
- Assign the right roles from the user detail page.
- Review what those roles actually permit in Roles.
- Confirm access changes later in Audit Logs when needed.
Edit or deactivate a user
Section titled “Edit or deactivate a user”- Select Users in the sidebar.
- Click the user’s name in the list.
- Update the name or active status. Email cannot be changed after creation.
- Click Save.
Deactivate a user when they should no longer access the platform but their historical ownership and activity should remain intact.
Delete users
Section titled “Delete users”Single delete:
- Open the user you want to remove.
- Click Delete User.
- Confirm the deletion.
Bulk delete:
- Select Users in the sidebar.
- Select the checkboxes next to the users you want to remove.
- Click Delete Selected.
- Confirm the deletion.
Can I change a user’s email after creation? No. Email is locked after the user is created. Create a new user with the correct email and delete the old one.
What happens when I deactivate a user? The user can no longer sign in, but their data (interactions, workflows they created, etc.) is preserved.
How do I control what a user can access? Assign roles to the user. Each role contains a set of permissions. See Roles for details.
Related pages
Section titled “Related pages”- Settings > Roles — create and manage roles with permissions
- Settings > Audit Logs — review recorded access changes